
Before a power flush, map your plumbing system and consult a professional if unsure. Gather necessary tools, materials, and guidance on eco-friendly products. Prepare by shutting off water supply, removing air pockets, and closing non-essential fixtures. Execute the process with controlled pressure increases, monitoring temperature and pressure. Post-flush, turn off power washer and open taps for fresh water circulation.
Looking to refresh your home’s plumbing system? A power flush is an effective way to eliminate stubborn clogging and improve water pressure. This comprehensive guide will walk you through the process, from understanding your plumbing basics to executing a successful power flush. Learn about essential tools, gather the necessary materials, and master the steps involved in this DIY project. Discover how a power flush service can benefit your home, enhancing efficiency and longevity.
- Understand Your Plumbing System
- Gather Necessary Tools and Materials
- Access and Prepare the Water Lines
- Execute the Power Flush Process
Understand Your Plumbing System

Before performing a power flush at home, it’s crucial to understand your plumbing system. This includes familiarizing yourself with the layout of pipes, fixtures, and appliances connected to your water supply. Different homes have varying systems, so take time to inspect your property. Note the locations of shut-off valves for each fixture and learn how to identify potential issues like low water pressure or leaks. A thorough understanding of your plumbing system will help ensure a successful power flush service, enhancing the efficiency of your water distribution.
Additionally, consider the age and condition of your pipes. Older systems might require specialized attention during a power flush due to the possibility of mineral buildup or corrosion. If you’re unsure about any aspect, consult a professional plumber who can guide you on the best approach, especially when it comes to high-pressure power flush techniques suitable for both new plumbing installations and older homes. Always prioritize safety precautions, such as shut-off procedures and personal protective gear, to make the process secure and effective.
Gather Necessary Tools and Materials

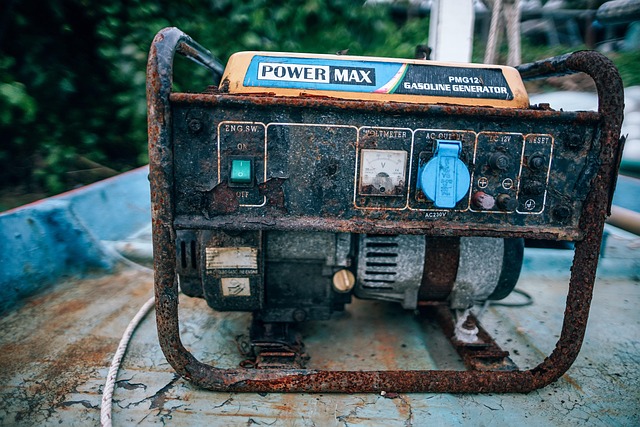
Before you begin a power flush at home, it’s crucial to gather all the necessary tools and materials. This process requires specific equipment designed for thorough cleaning, such as a high-pressure washer, a powerful vacuum system, and special chemicals tailored for the job. A reliable plumber Bromsgrove can advise on suitable products, ensuring they meet current power flush for food safety standards. Additionally, consider eco-friendly sustainable power flush options to reduce environmental impact while maintaining efficiency.
Among the essentials are protective gear like gloves and goggles, a durable hose, and nozzles designed for different surfaces. A comprehensive toolkit will also include measuring cups and a mixing container for chemicals. Proper preparation not only ensures a successful power flush but also safeguards your health and home from potential damage during the cleaning process.
Access and Prepare the Water Lines
Accessing and preparing your home’s water lines is a crucial step in performing a power flush service, especially if you’re dealing with shared plumbing systems or have recently replaced pipes. Begin by shutting off the main water supply to ensure no unexpected water flow during the process. Locate the access points for the water lines; these are often under sinks or in utility closets. Gather the necessary tools, including a wrench or pliers for securing and loosening connections.
Prepare the lines by removing any air pockets. This can be done by opening taps at low points in your plumbing system to release trapped air. Once the lines are clear, ensure all fixtures are closed except for the ones you’ll use during the power flush process. This step is vital, as it prevents excessive water usage and potential damage to newly installed or replaced pipes.
Execute the Power Flush Process

Execute the Power Flush Process
Once you’ve prepared your home for a power flush, it’s time to dive into the process. Start by shutting off the water supply to your plumbing system. This is crucial, especially if you’re dealing with urgent power flush needs or condo power flush solutions, as it prevents any unexpected leaks during the cleaning. Next, connect the pressure washer to the drainage pipes and activate it at a low setting to remove any air bubbles trapped within. Gradually increase the pressure while monitoring the system’s response; you want to push out any stubborn buildup but not cause damage.
As the power flush service progresses, keep an eye on the water pressure and temperature. The goal is to eliminate any mineral deposits or blockages without compromising the integrity of your pipes. Once the flushing is complete, turn off the pressure washer and open all taps in your home to allow fresh water to flow through the system. This step helps to flush out any residual debris and ensures a thorough clean for your shared plumbing systems or condo’s plumbing network.
Performing a power flush at home is a straightforward process that can significantly improve your plumbing system’s efficiency. By understanding your plumbing, gathering the right tools, and following the steps outlined in this article—from accessing water lines to executing the flush process—you can effectively maintain your pipes and prevent costly repairs. Remember, while a DIY power flush service is achievable, for complex or stubborn clogs, professional assistance from a licensed plumber might be required.